Connect a trigger to the steps that should follow it, so routine work in your project happens on its own.
3 min readUpdated 5 days ago
Before you start. Owners, Admins and Members can create and change workflows, on every plan. Only Owners and Admins can delete one.
A workflow starts with one trigger, the event that sets it off, and runs the actions connected below it. This example sends every new bug report to one teammate and leaves a note for the team.
Build the workflow
1.
Open Project settings, then Workflows.
2.
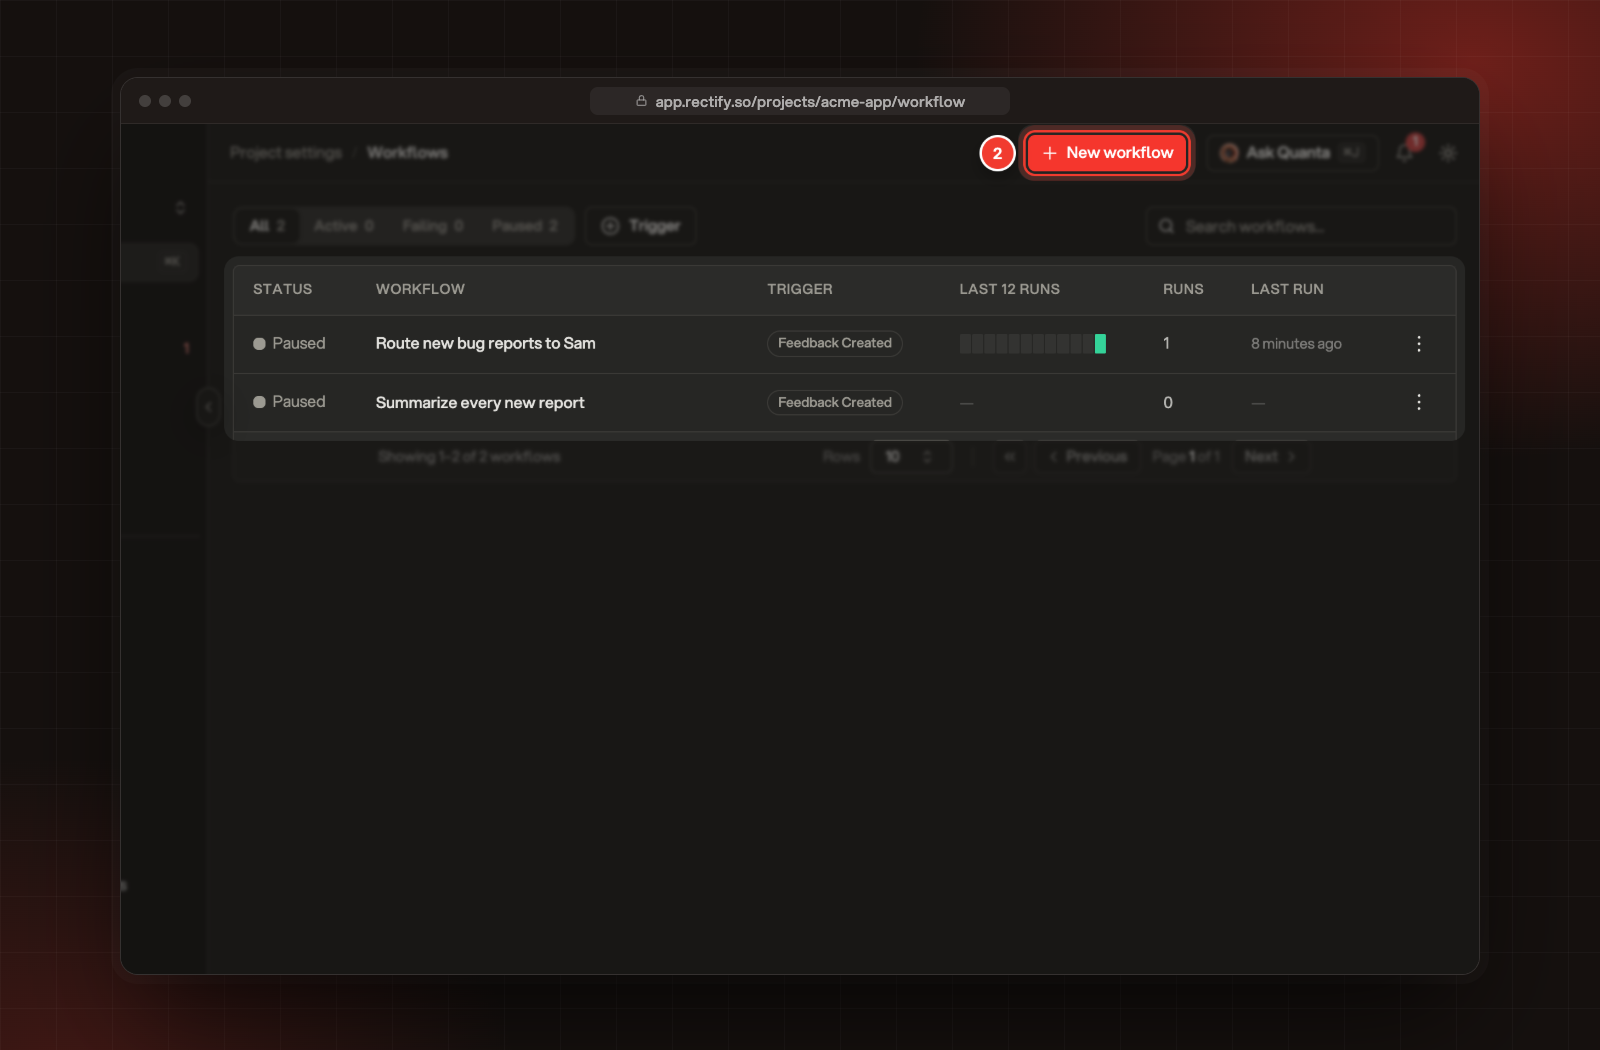
Select New workflow. If it's your project's first workflow, select Let's GO! instead.
2 New workflow, above the list of workflows.
3.
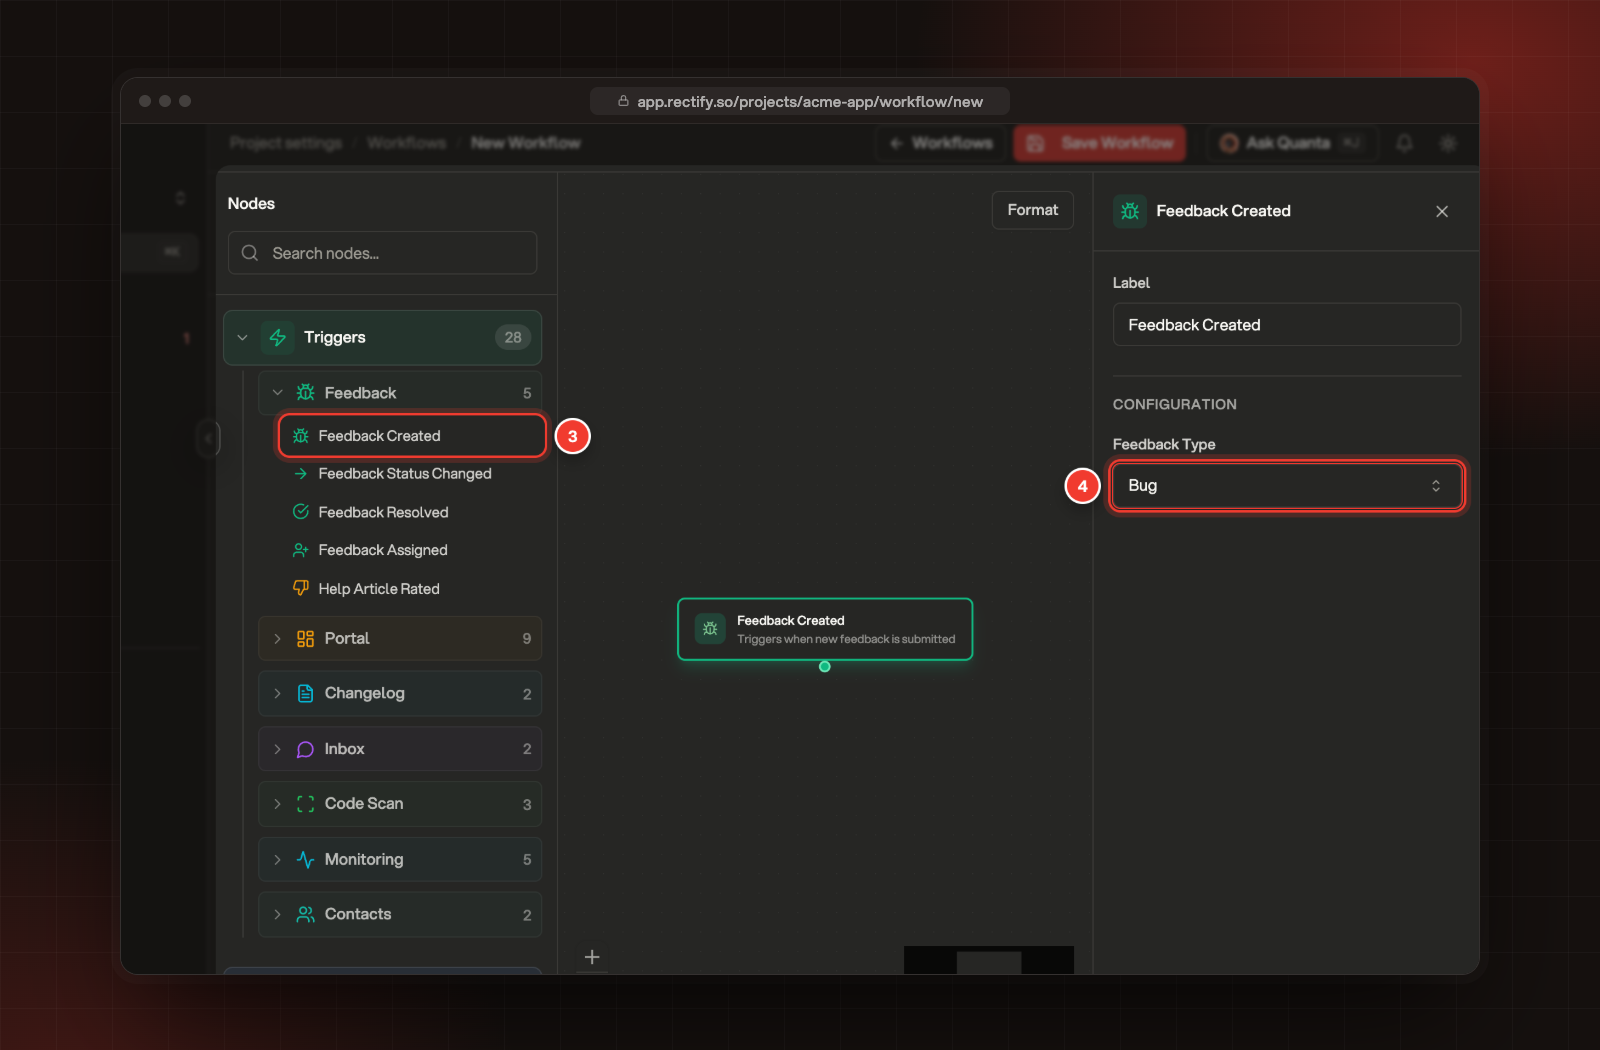
Under Nodes, open Triggers, then Feedback. Drag Feedback Created onto the canvas.
4.
Select the new node. In the panel on the right, set Feedback Type to Bug, so only bug reports start the workflow.
3 Feedback Created in the list of nodes. 4 Feedback Type, set to Bug.
5.
Open Actions, then Feedback, and drag Assign Feedback onto the canvas below the trigger.
6.
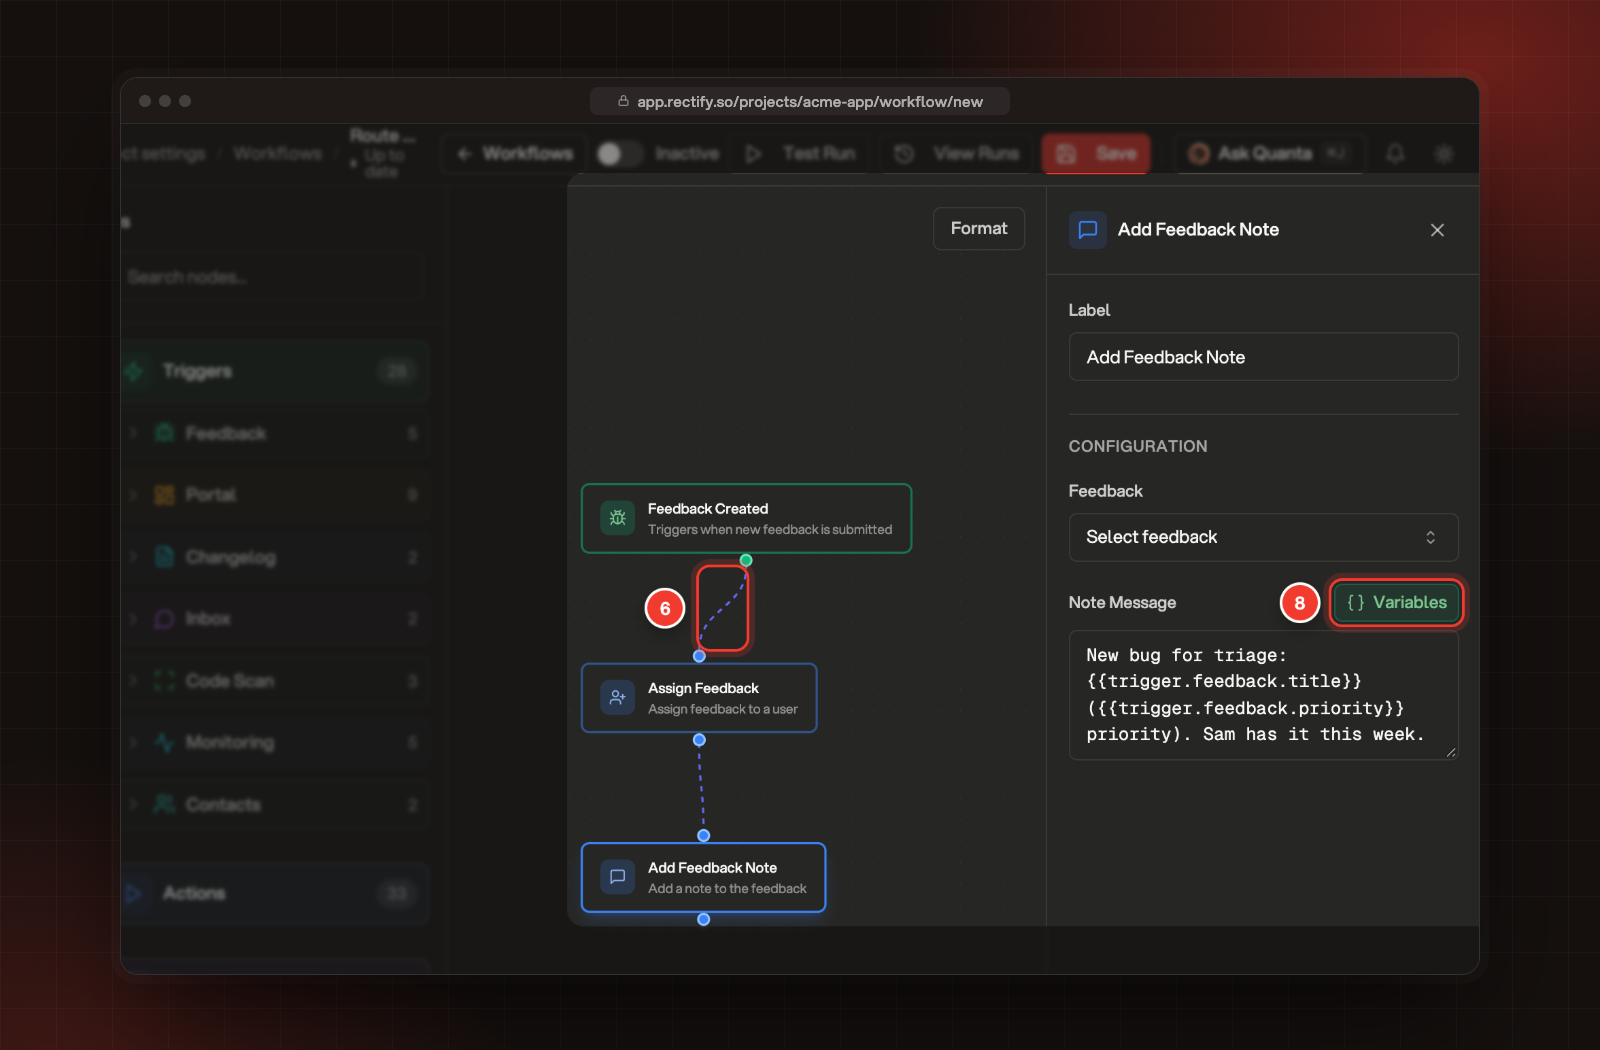
Connect them: drag from the dot under Feedback Created to the dot on top of Assign Feedback.
7.
Select Assign Feedback and pick a teammate under Assign To. Leave Feedback empty, so the step works on the report that started the workflow.
8.
Add Add Feedback Note the same way and connect it below Assign Feedback. Write the Note Message, and select Variables to insert details from the report, such as its title.
6 The connection between two nodes. 8 Variables, beside the Note Message.
9.
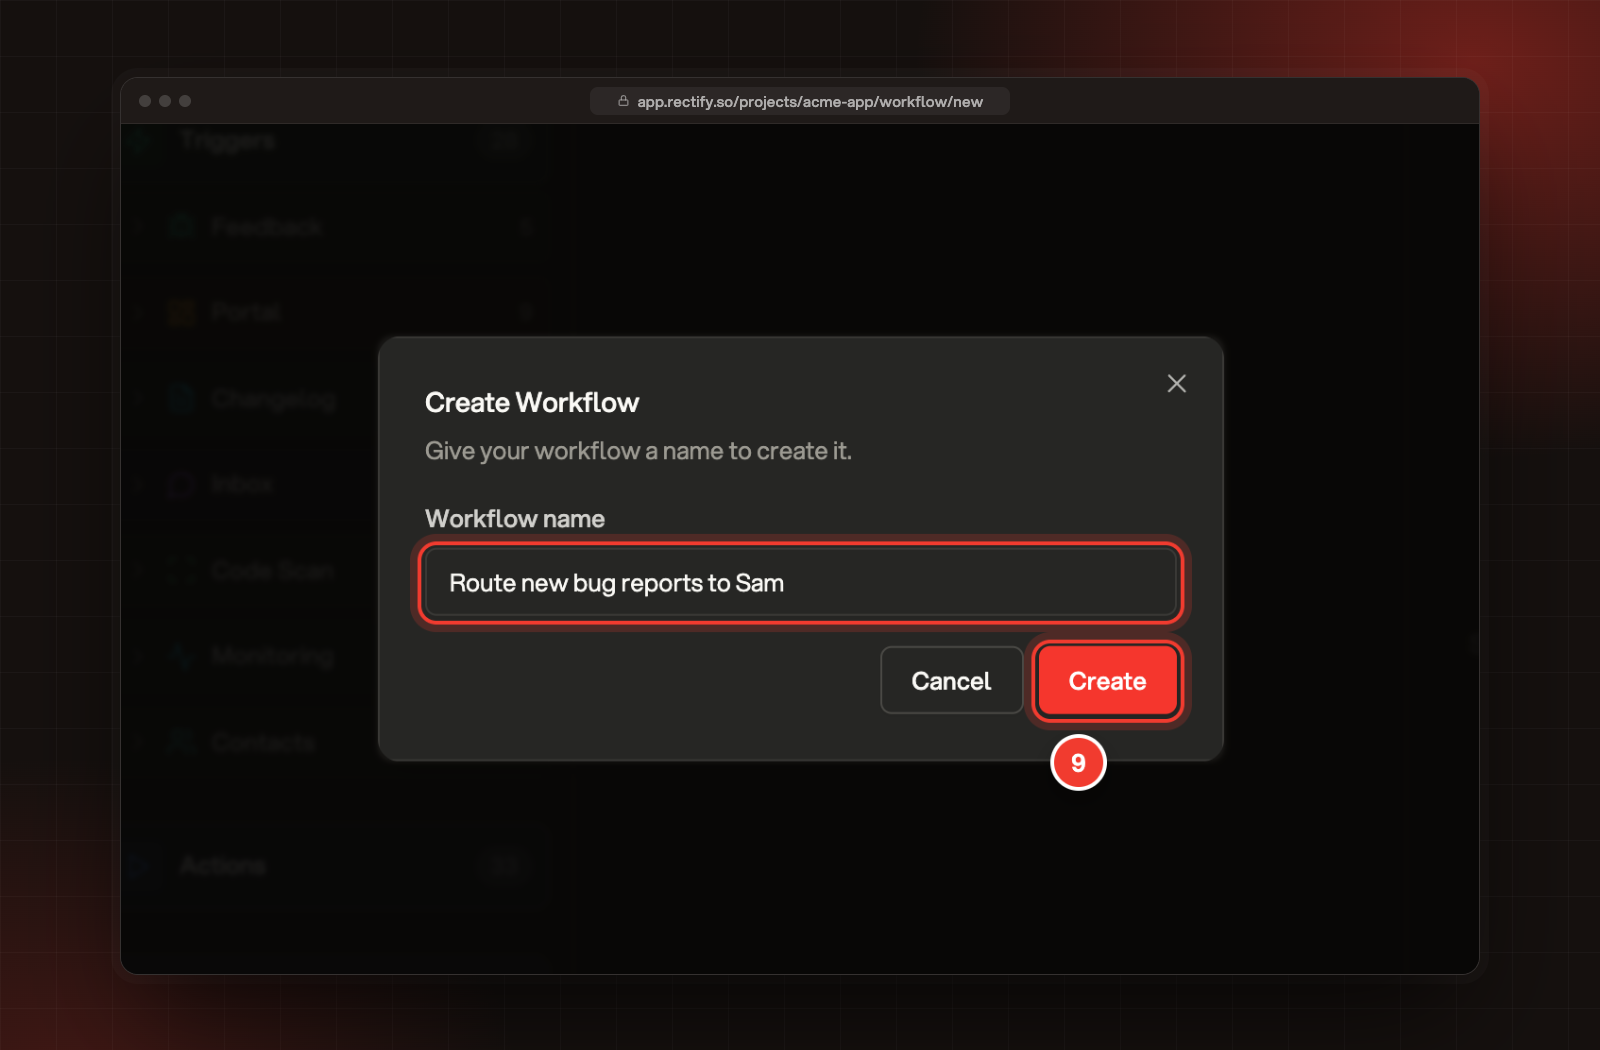
Select Save Workflow, enter a Workflow name of up to 80 characters, and select Create.
9 Create, under the Workflow name.
Your workflow is switched on as soon as you create it. From now on, every new bug report in this project is assigned and gets the note.
Tips for the canvas
•
Steps run one after another, from the trigger down. A step can use what the steps above it produced.
•
Select Format at the top of the canvas to line the nodes up neatly.
•
To remove a node, select it and select Delete Node at the bottom of the panel.
•
To change what a node is called on the canvas, edit its Label.
Change it later
Select the workflow's name in the list to open it. While every node is connected, changes save on their own a few seconds after you make them, and the top of the page shows All changes saved. To stop the workflow for a while, turn off the switch next to Active at the top. It then shows as Paused in the list.
Check it worked
The workflow appears in the list on the Workflows page with the status Active and its trigger. After it runs, Last 12 runs, Runs and Last run fill in. Test a workflow and read its runs shows how to try it on a real report first.
It says "Only one trigger node is allowed per workflow"
A workflow has exactly one trigger. Delete the extra trigger, or build a second workflow for the other event.
It says "All nodes must be connected to the trigger"
A node on the canvas isn't linked to anything above it. Connect it, or select it and select Delete Node.
It says "A workflow with the same trigger and configuration already exists in this project"
Another workflow in this project already uses the same trigger with the same settings. Add your steps to that workflow, or change the trigger's settings, for example the Feedback Type.